Showing posts with label מסגרת מטופלת. Show all posts

Tuesday, December 18, 2012

A year in review - mini albums and altered projects

It is almost the end of 2012, and it's time to make some scrappy review. This time about mini albums and cards I've made this year (for more close-ups, you can click on the title of each photo, to see the full post about the specific project).
I've made only 4 mini albums this year, so I'll show you all of them:
The basis of the album, as well as the binding, is selfmade :).


A weekend in the north (Cosmo Cricket products):
This lo was made on a pre-cut chipboards and the binding was done simply with a metal ring.


Once again, I've made by myself this album from start to end. It has many openings, tags, etc. I also did the binding by myself, and I think this mini is the best I've made ever, concerning the binding. I hope next year to improve my skills in binding mini albums.


I've made several altered projects:
Altered frame:

Altered notebook:
Altered notepads & calendar:

Altered gift box:
Altered box:
Thank you for stopping by! please come back tomorrow, for another review.
השנה האזרחית מתקרבת לסיומה, וזו הזדמנות טובה לסקור את העשייה הסקראפית במהלך השנה האחרונה. הפוסט הזה, ראשון בסקירות, מתמקד במיני אלבומים ובפרוייקטים מעוצבים (שכולם על בסיס מיחזור).
תודה שקפצתן לבלוג שלי  להסתכל ואתן מוזמנות לבוא גם מחר, לסקירה נוספת.

Thursday, February 2, 2012

Bloom - an altered frame


This frame is the winner for
#10 Floral Delight challenge at LESSology!

For English version, please scroll down. thank you!

כשצרויה העלתה את האתגר השני שלה, אתגר "אביב", היו לי כמה וכמה רעיונות מה לעשות  לאתגר הזה. אחד  מהם היה מסגרת מעוצבת, עם פרחים מקופלים לפי ההדרכה הנפלאה של WINTAM, כביטוי לפריחה המתפרצת באביב.
לקחתי קנבס שהכין צעיר הבנים לפני כשנה בגן. הוא כבר בכיתה א', אז אני מניחה שזה בסדר למחזר, לא?... כיסיתי בשכבת ג'סו ואח"כ צבעתי בשתי שכבות של צבע אקרילי. יישנתי את הקצוות עם דיו והחתמתי כמה  חותמות.  כרקע הדבקתי דף של Webster's Pages. הפרחים הוכנו מדפים מדוגמים ששכנו להם בקופסת השאריות (מרביתם של בייסיק גריי) וכך גם העלים הגזורים ביד. 


've made this frame from a canvas my youngest made in the kindergarten a year ago. Well, he already at 1st grade, so I guess it's okay to re-use it, right? LOL
I didn't take a photo how it was, cause I've already covered it with gesso long time ago. Here's a photo of how it looked all covered with gesso:

I took several dp I've got in my scrap box (most of them are Basic Grey)  and made the rolled flowers, according to this wonderful tutorial. A few stamps and Thickers letters, and that's it.
Here are some close-ups:


I'm entering this frame to the following challenges:
floral delight challenge  - #10 lessology (my recycled item is the canvas) 
favorite things (plus BG products) -  basicgrey challenges (my fav thing is homemade embellishments and mostly - flowers. I've used BG products from lilykate collection and a cards box kit I once got and I'm afraid I really don't recall the name of the collection..)
Thank you for taking the time and visiting my blog!

Friday, September 3, 2010

An altered frame with a tutorial - how to distress with a candle - מסגרת מטופלת


This altered frame was made with the inspiration of the photo challenge over Frosted Designs:


I took the pink, blue and white colors from the photo (with a little touch of green). The other things from the photo that inspired me were, of course, the flowers, and the like a frame look of the balkony.

I'm enering this altered frame also for the following challenges:
pearls & lace - simon says; #34 fff
material world (lace) - #38 fub 'n' funky
distressing - #28 artful inkables
vintage - #13 creatalicious; #bunny zoe's crafts
old & new - #25 tstr (old look, new butterfly sticker)

I did the distressing of the wooden frame with the candle technique, and since I've been asked before about this technique, I decided to make a little tutorial on how to make it.  Here it is:
The materials: a wooden frame, acrylic paints (preferable in two contrasting colors), a brush, a sand paper, a candle.
Step 1:
Color the wooden frame with the base color all over (I chose brown).

Step 2:
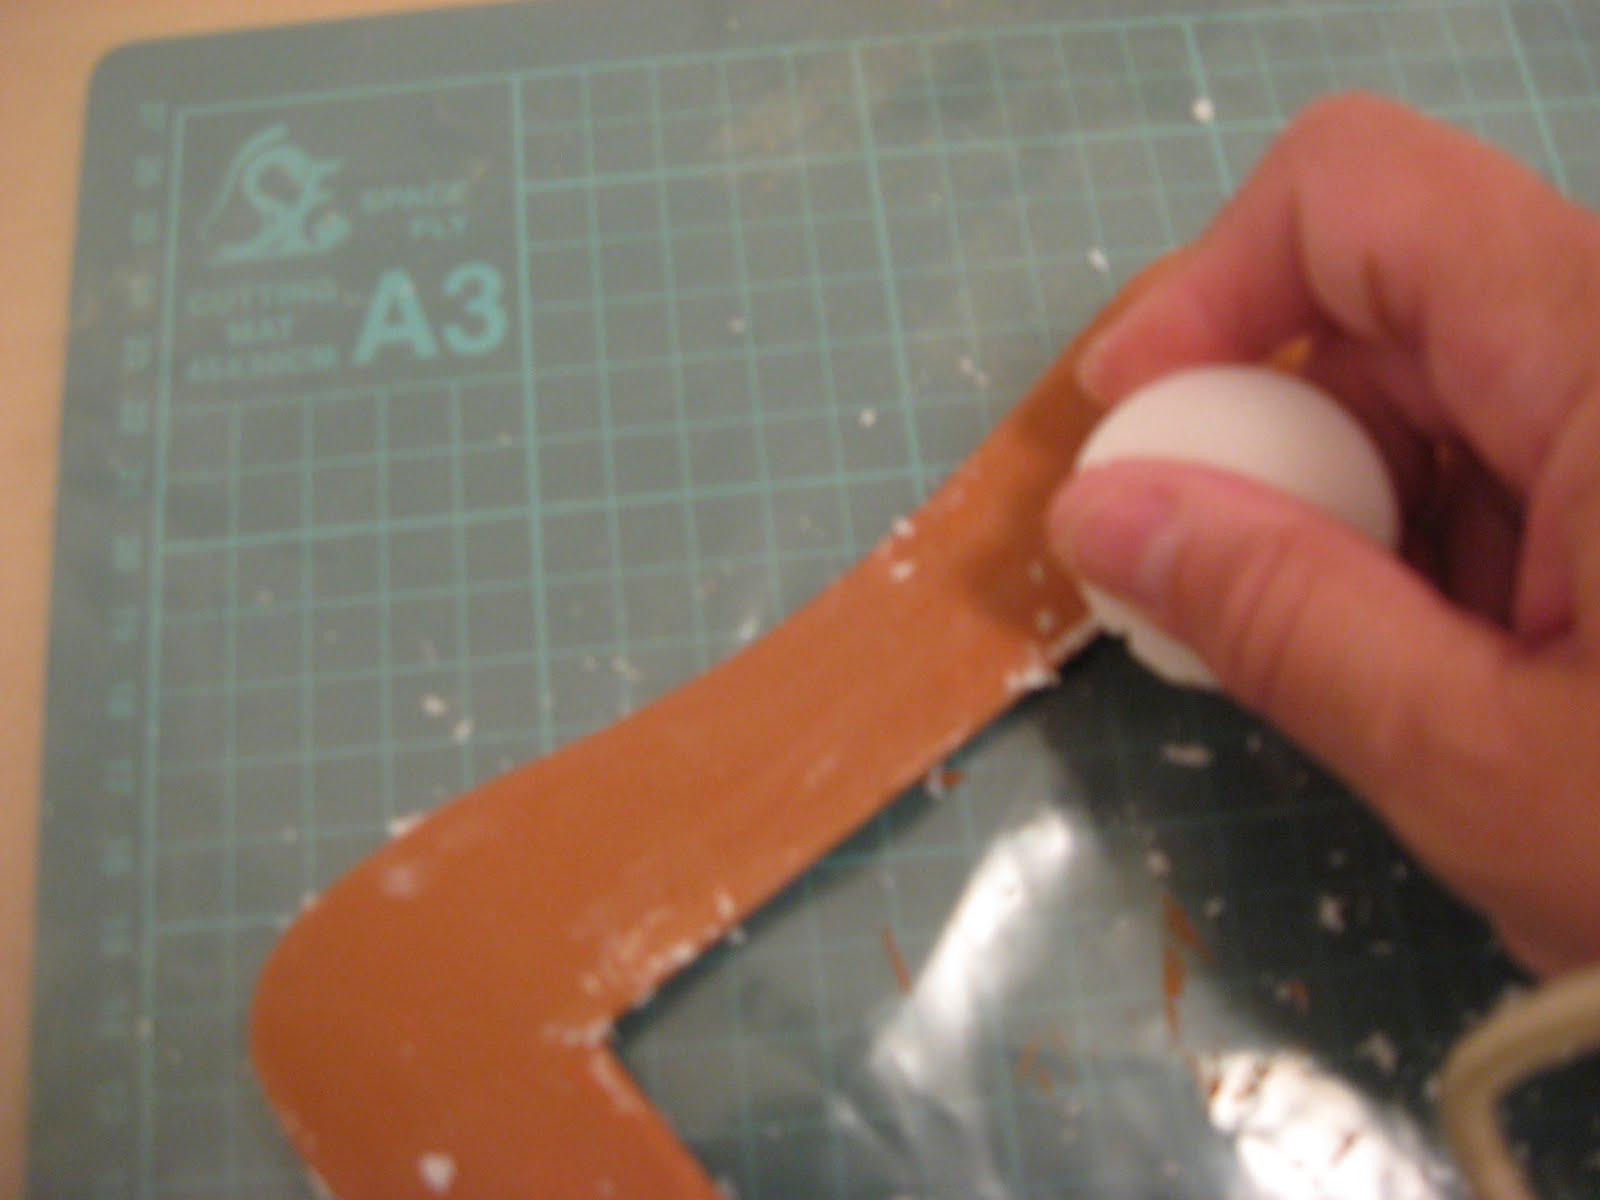
Scrub the colored frame with the candle in different places, especially at the edges and the  corners. Clean the leftovers of the candle.

Step 3:
Color the frame with the other color  all over (I chose vintage white).

Step 4:
Scrub the frame with a sand paper. You should follow the places where you scrubed with the candle before.

And this is what you should get:


Another look:


And a closeup on a corner:


For the embellishments I stamped the frame, added lace, pearls, prima flowers and a butterfly sticker.

Now it's your turn to make an altered art, using this technique. It's really simple and the outcome is great.
If you do make something based on this technique, I'd love to see it, so leave me a comment on this blog, so I can look and leave you some love :).

Thanks for stopping by, and have a wonderful weekend!